Installation
Requirements
To develop a visionOS app, you would need:
A Mac with Apple silicon chip
Xcode 15.0+
The visionOS Simulator
Install Xcode and visionOS Simulator
To install Xcode, open App Store on your Mac and search for
"Xcode". Then, click on the"Get"button to download it.Once Xcode is installed, launch Xcode and a dialog will appear to show which simulator runtime you may install. Select
"visionOS"with the most current version and click the"Download & Install"button.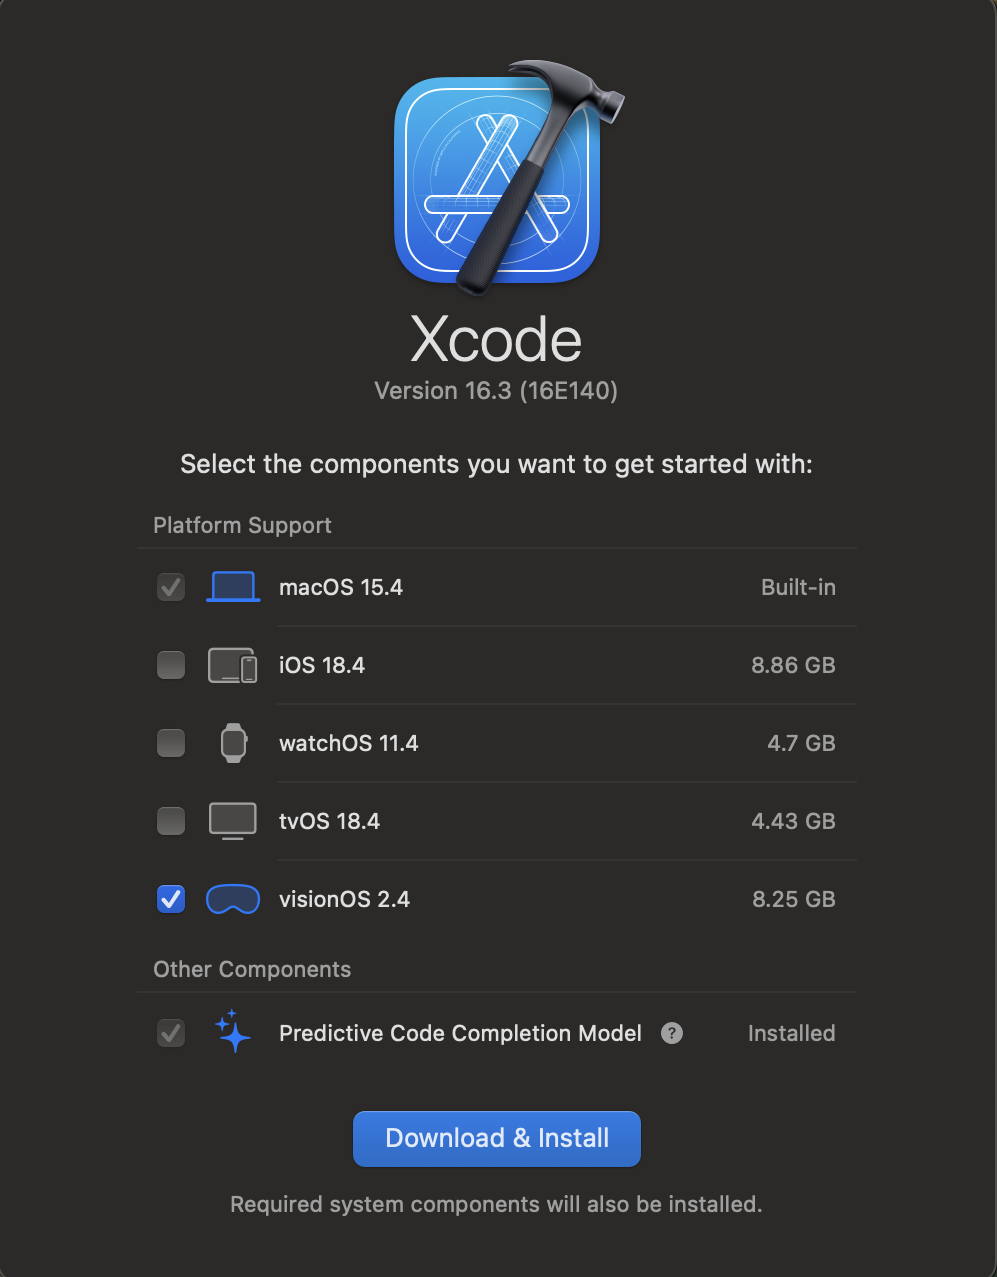
Install visionOS App: Discover
Open the
"Terminal"on your Mac and navigate to a directory where you want the visionOS app to be.Clone the Repository:
git clone https://github.com/Apple-Vision-Pro-UA-CS495/apple-vision-pro-main.git
Install the Dependency in the visionOS App
Add the Lottie Library to the app
Copy this link: https://github.com/airbnb/lottie-spm
Follow this GIF to add the dependency
Run the visionOS app
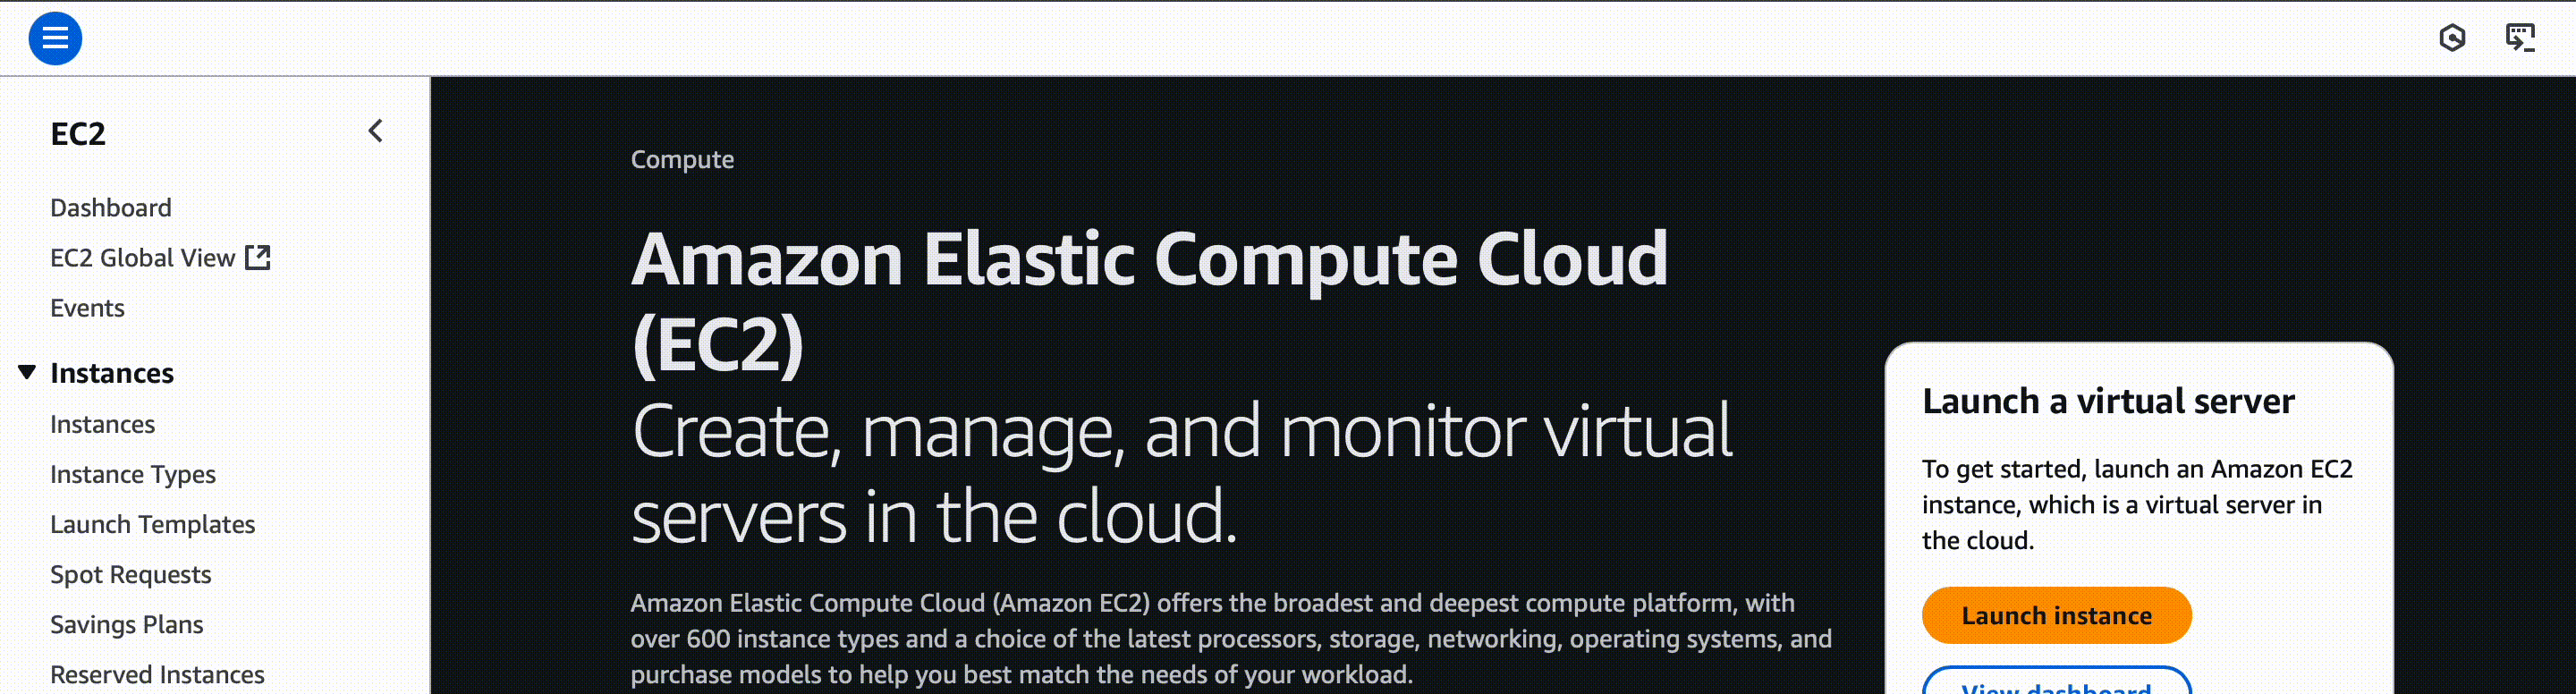
Start the AWS EC2 Instance
Start the server
For Windows, run this command in the terminal:
ssh -i {path_to_pem_file}\aws_pem.pem ec2-user@{IP_address}
cd app
uvicorn server:app --host 0.0.0.0 --port 8000
For Mac, run this command in the terminal:
ssh -i {path_to_pem_file}/aws_pem.pem ec2-user@{IP_address}
cd app
uvicorn server:app --host 0.0.0.0 --port 8000
Start visionOS app
Open
"Discover.xcodeproj"in Xcode
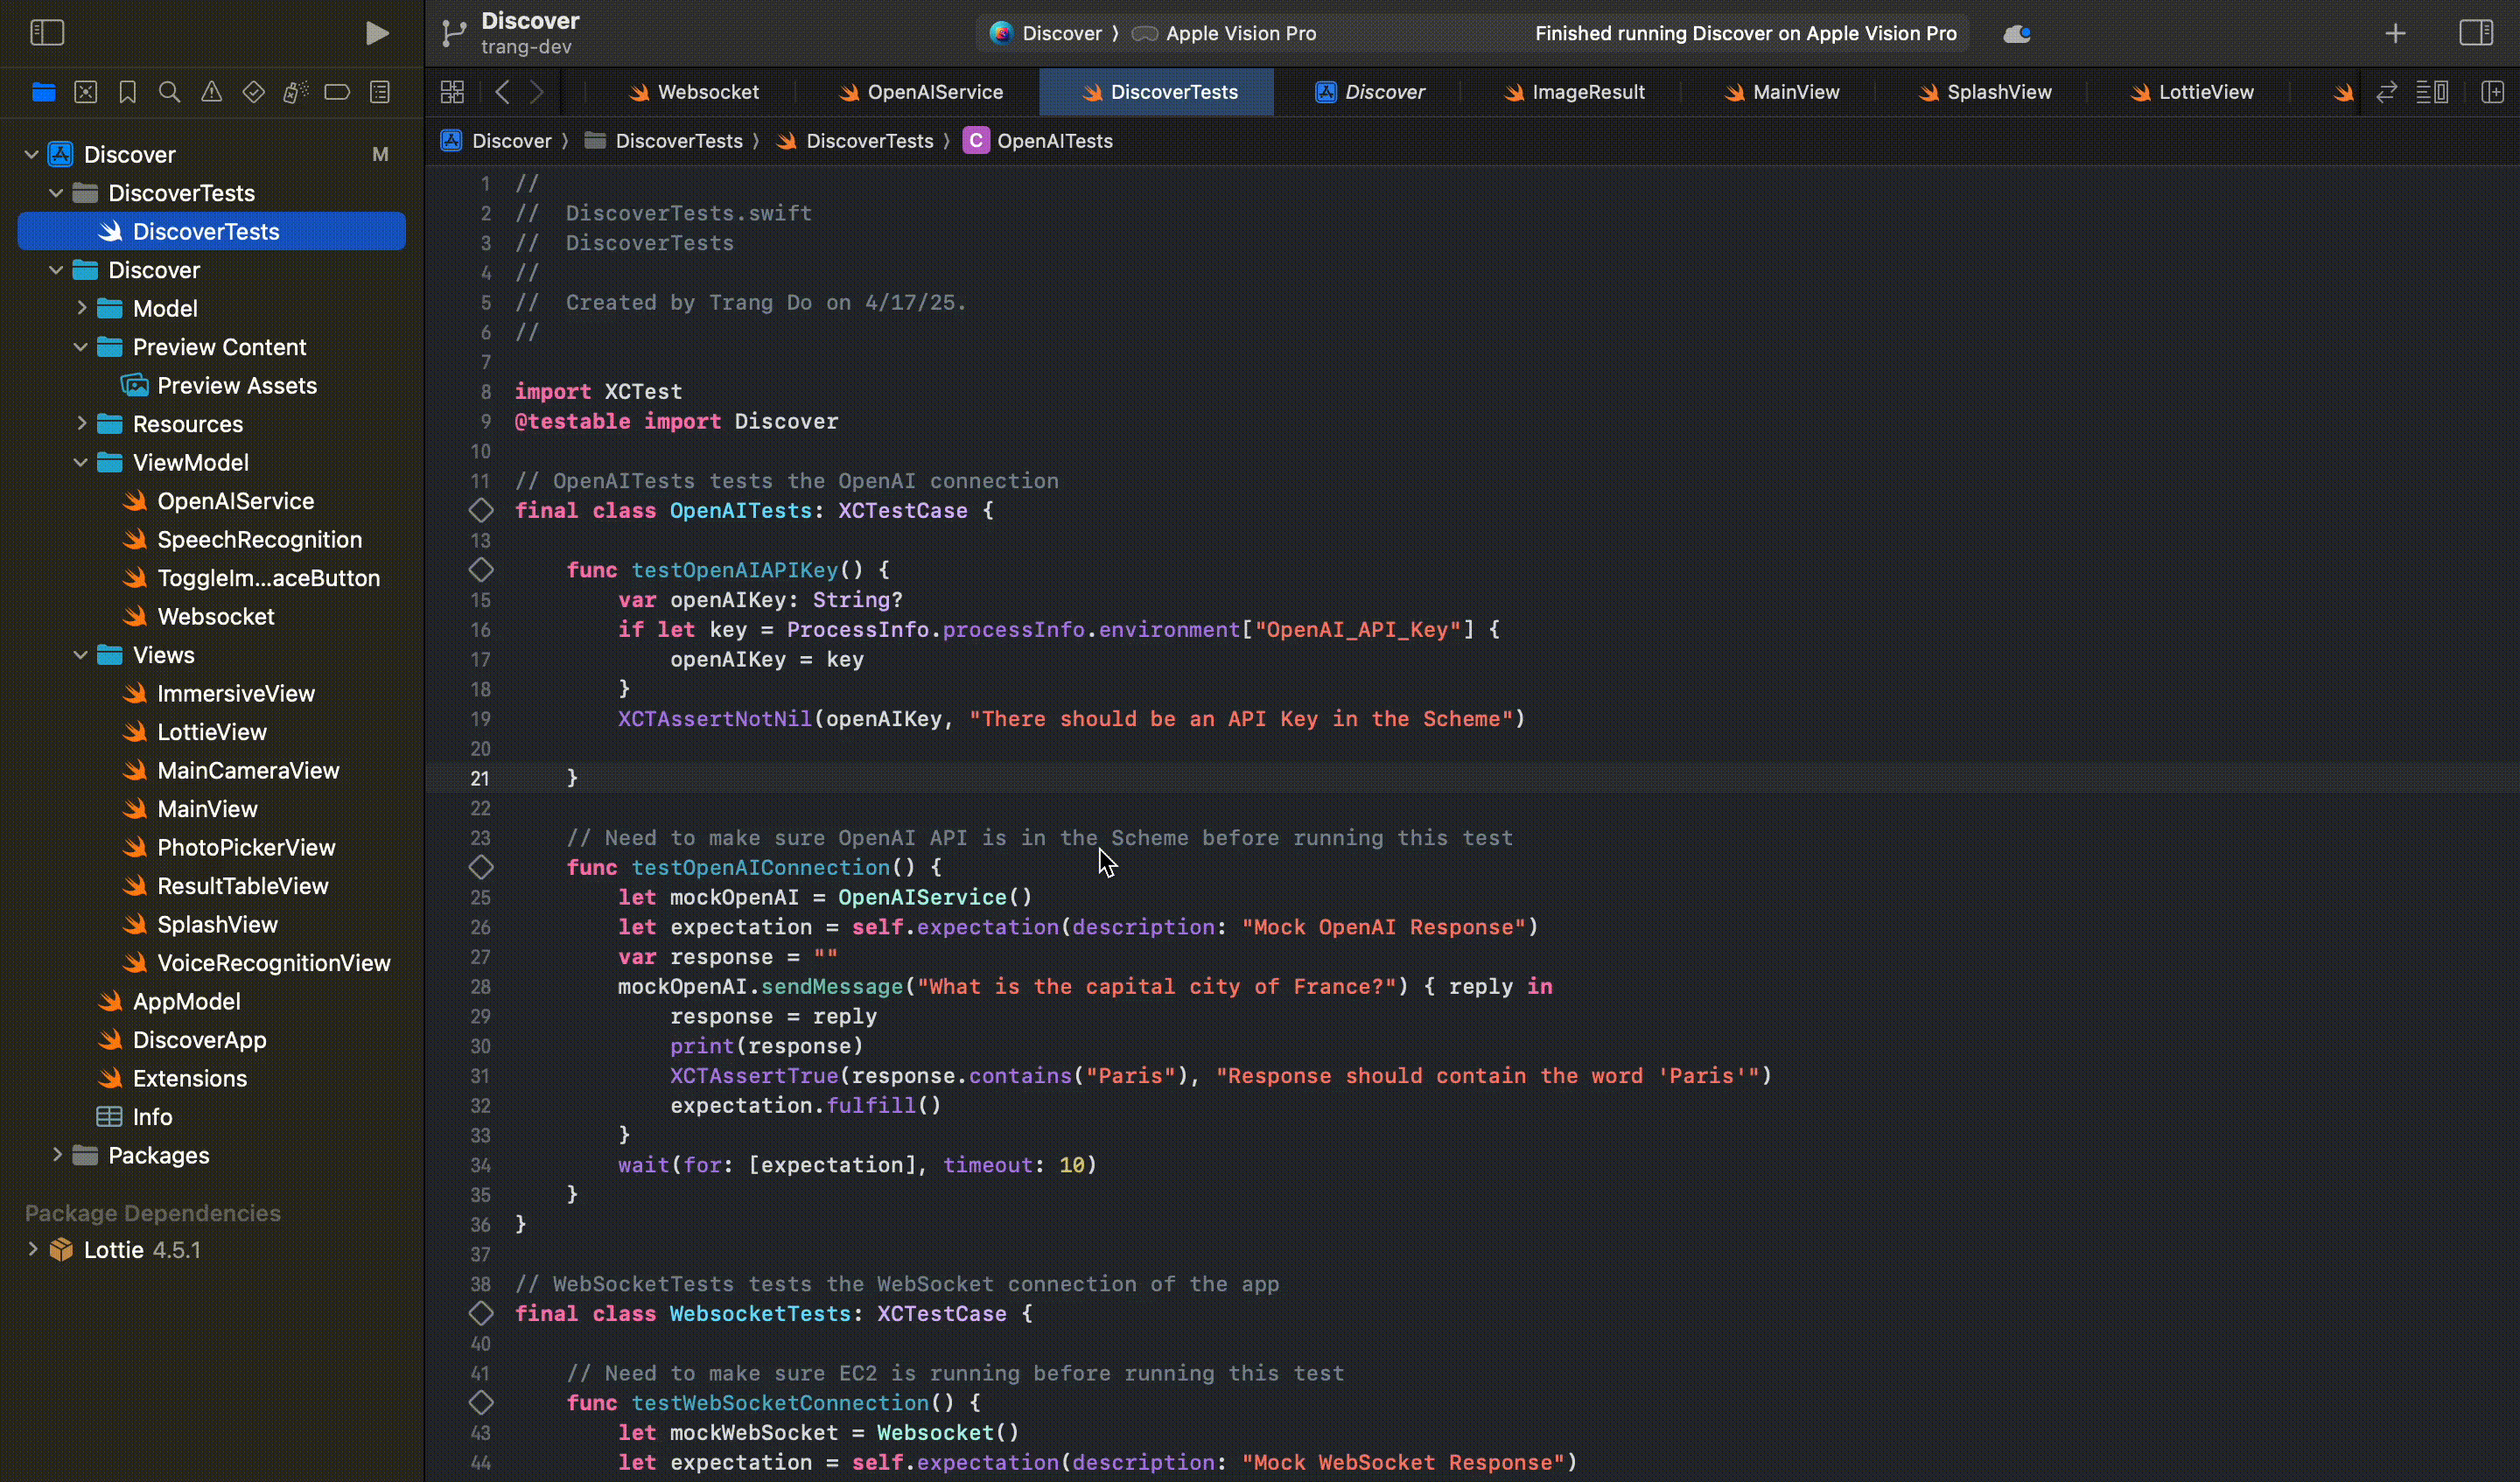
Make sure the OpenAI API Key is in the Scheme. If it is not, then add the API Key
Select visionOS simulator as the target device
Press Cmd + R or click the Run button in Xcode to build and run
When you are done, make sure to stop the server and stop the EC2 instance to save money
Backend Setup Guide
This section provides a guide for when you want to create a new EC2 Instance and get it up and running.
Local Setup
Create Python virtual environment
Install dependencies
Use this command to run the server:
uvicorn server:app --host 0.0.0.0 --port 8000 --reloadRun the
client.pyfile to test
EC2 Setup
Create an EC2 instance in AWS
Recommend using t2.xlarge due to dependency size
Set a static IP address
Allow inbound traffic to ports 8000, 22, and 443
Start EC2 instance in AWS
In terminal run:
For Windows:
ssh -i {path_to_pem_file}\aws_pem.pem ec2-user@{IP_address}For Mac:
ssh -i {path_to_pem_file}/aws_pem.pem ec2-user@{IP_address}
Download
server.pyfile andrequirements.txtfrom our data processing repo (If you have any issues with these files, fallback to requirements2.txt and server2.py)Move these files from local into EC2 using SCP:
scp -i {path_to_pem_file}\aws_pem.pem {path_to_file}\file ec2-user@{IP_address}Install dependencies in EC2 using pip:
pip install -r requirements.txtRun:
uvicorn server:app --host 0.0.0.0 --port 8000Hit server with this link:
ws://{IP address}:8000/wsWhen you are done, make sure to stop the server and stop the EC2 instance to save money
For future use, you can just spin up the EC2 instance, ssh in, and run the uvicorn command to start the server again
Run tests in EC2: move
test.pyinto EC2 (tests not meant to be run with server2.py)Then run:
pytest test.py